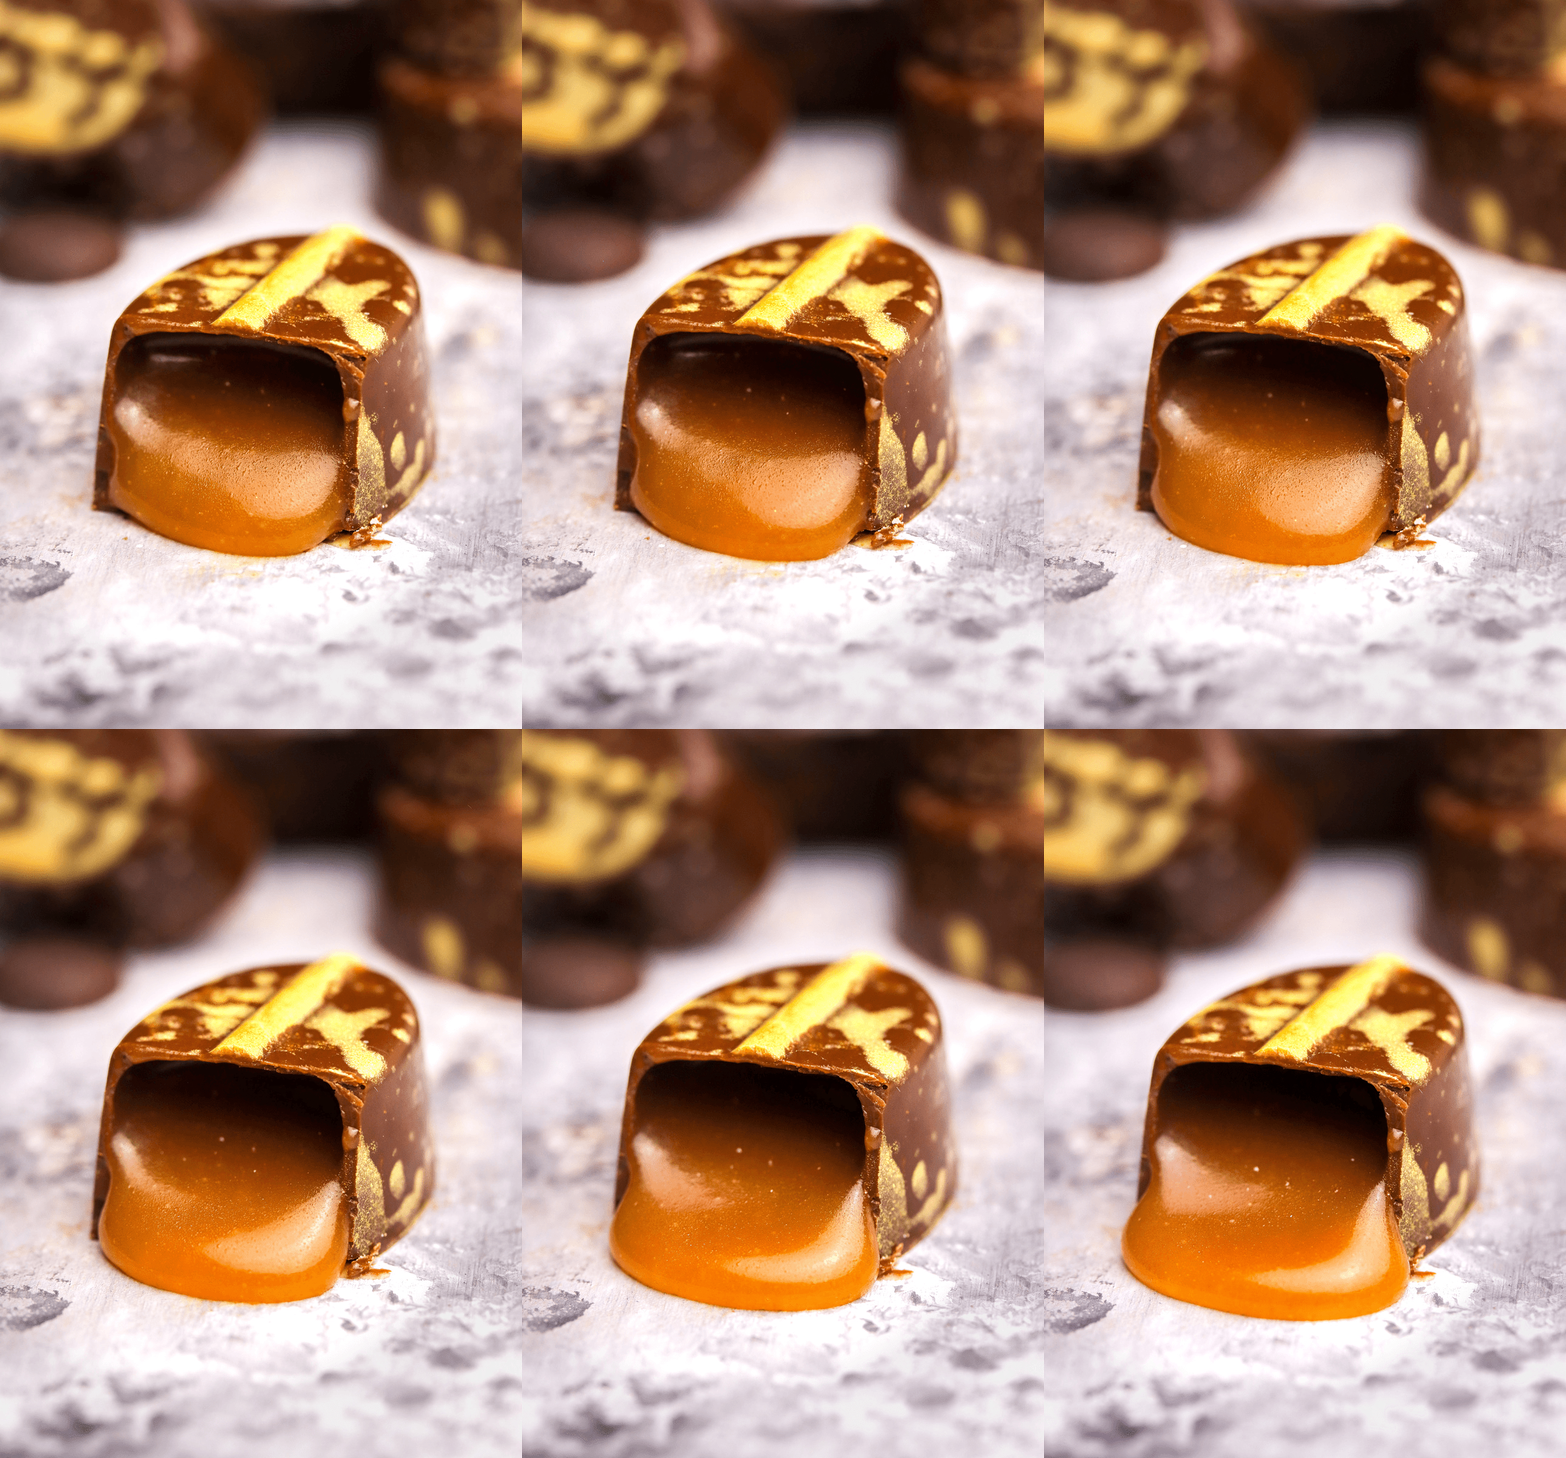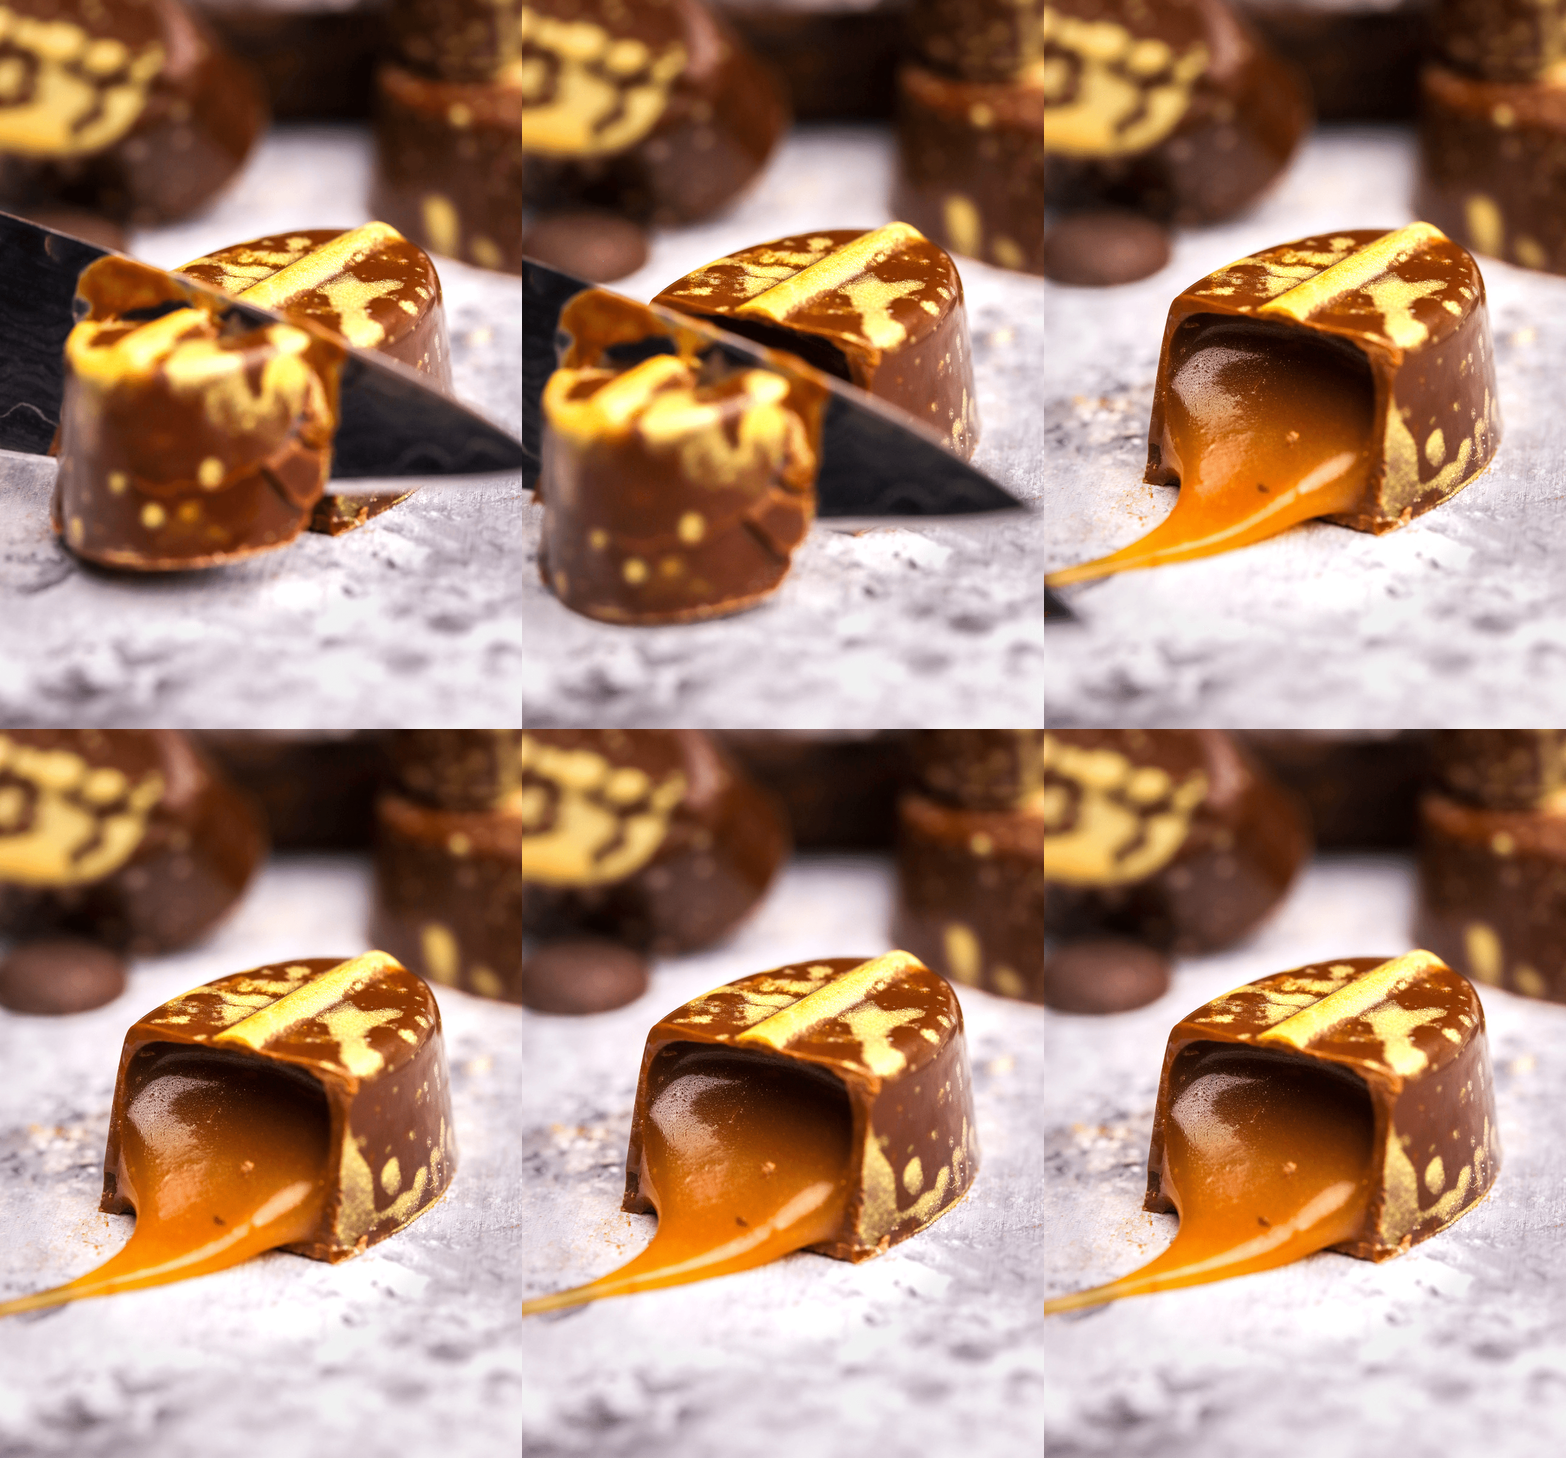
This. This is IT! This is THE praline.
Now, I have achieved the level of goodness I’ve been striving for since starting to make pralines. I’ve cracked the code and just had to share it ASAP. The flavour rich and buttery with heavenly caramel notes and lots of brown butter, and the texture is simply silky smooth heaven of goodness. It is just gooey and runny enough to melt in your mouth like a dream, yet it doesn’t make a mess. This uses a more traditional chocolatier way of making caramel, and optimises the shelf-life. Guys, it really doesn’t get any better than this! Just look at the GIFs below!
Enough said, ENJOY!
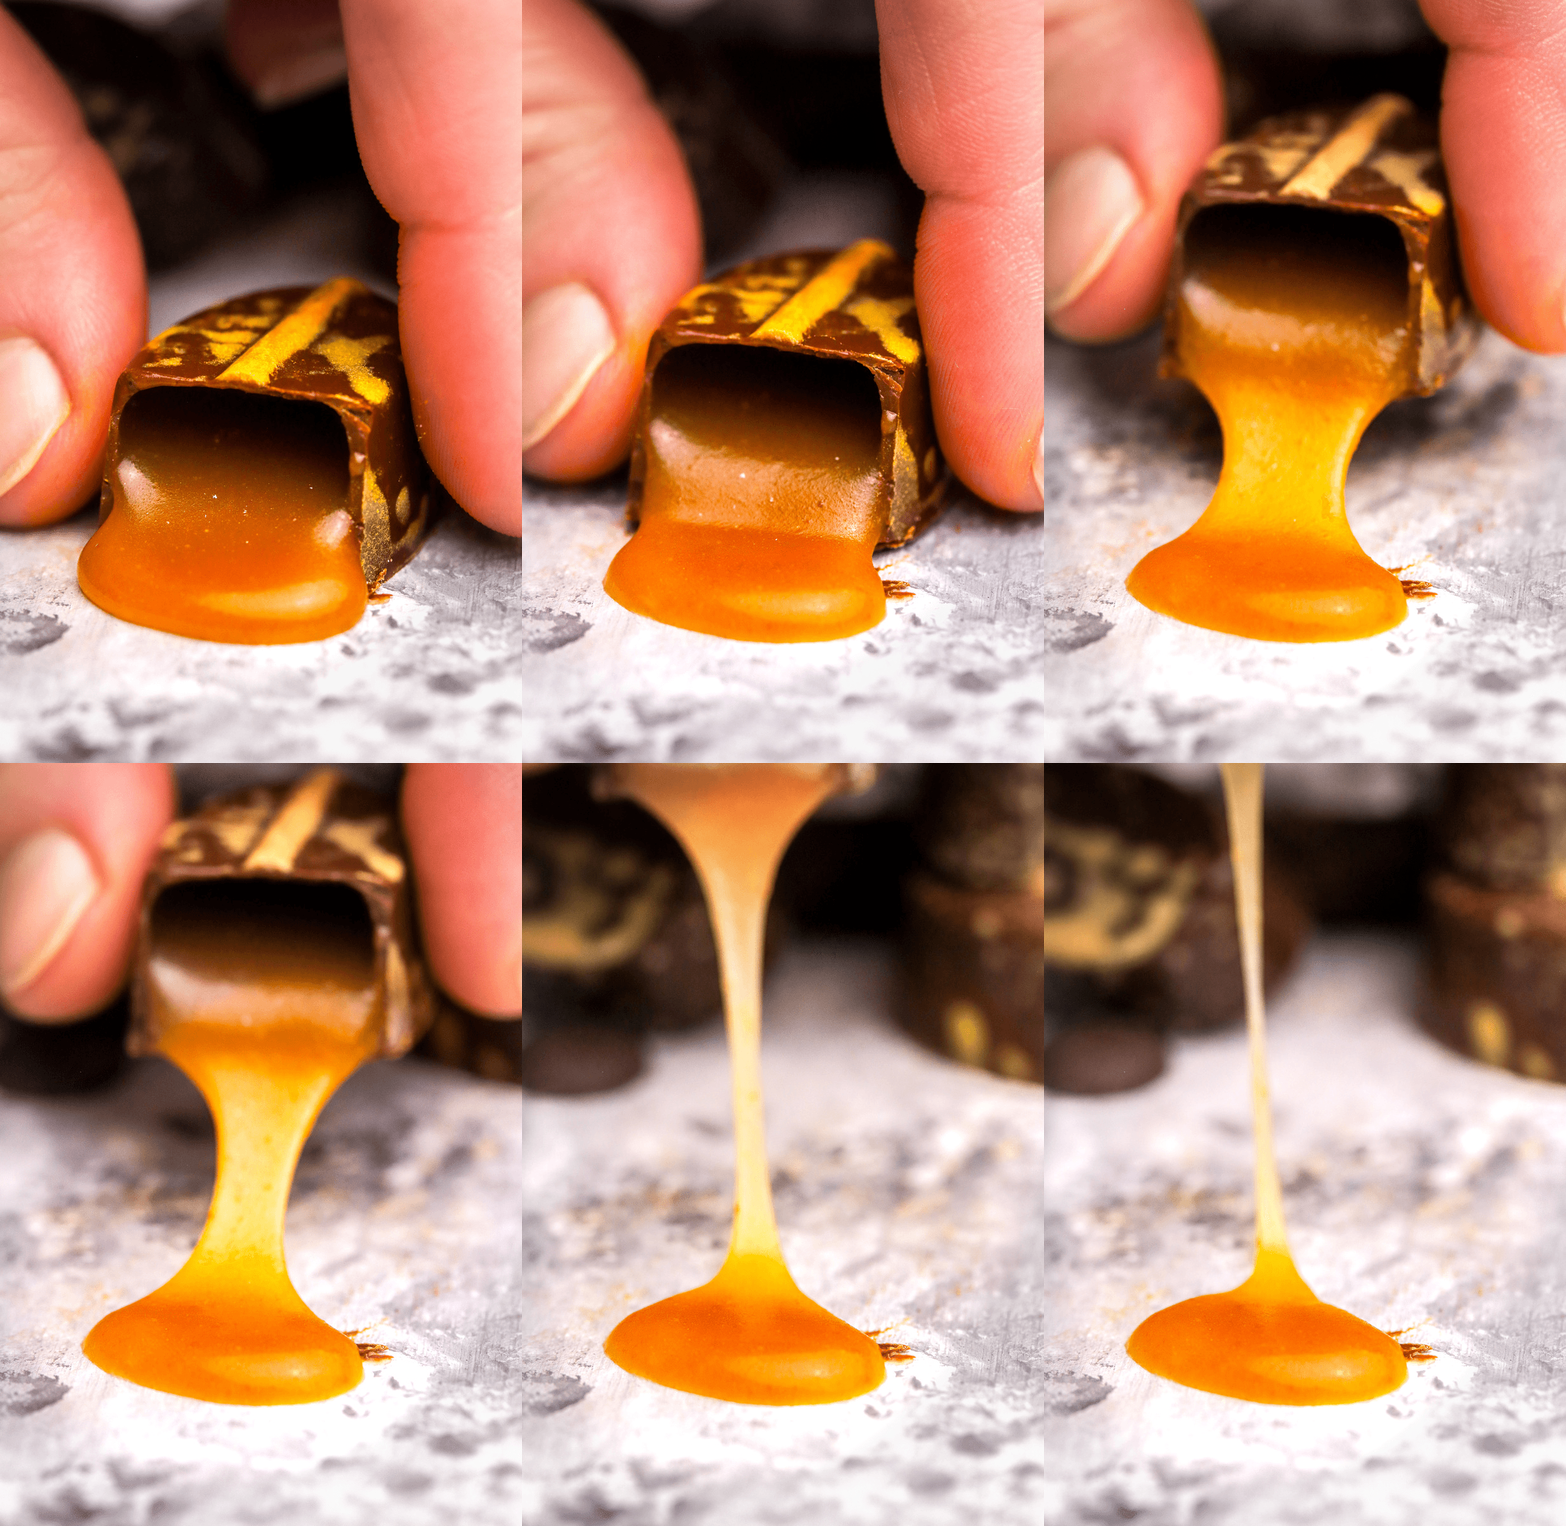
NOM NOM NOM!

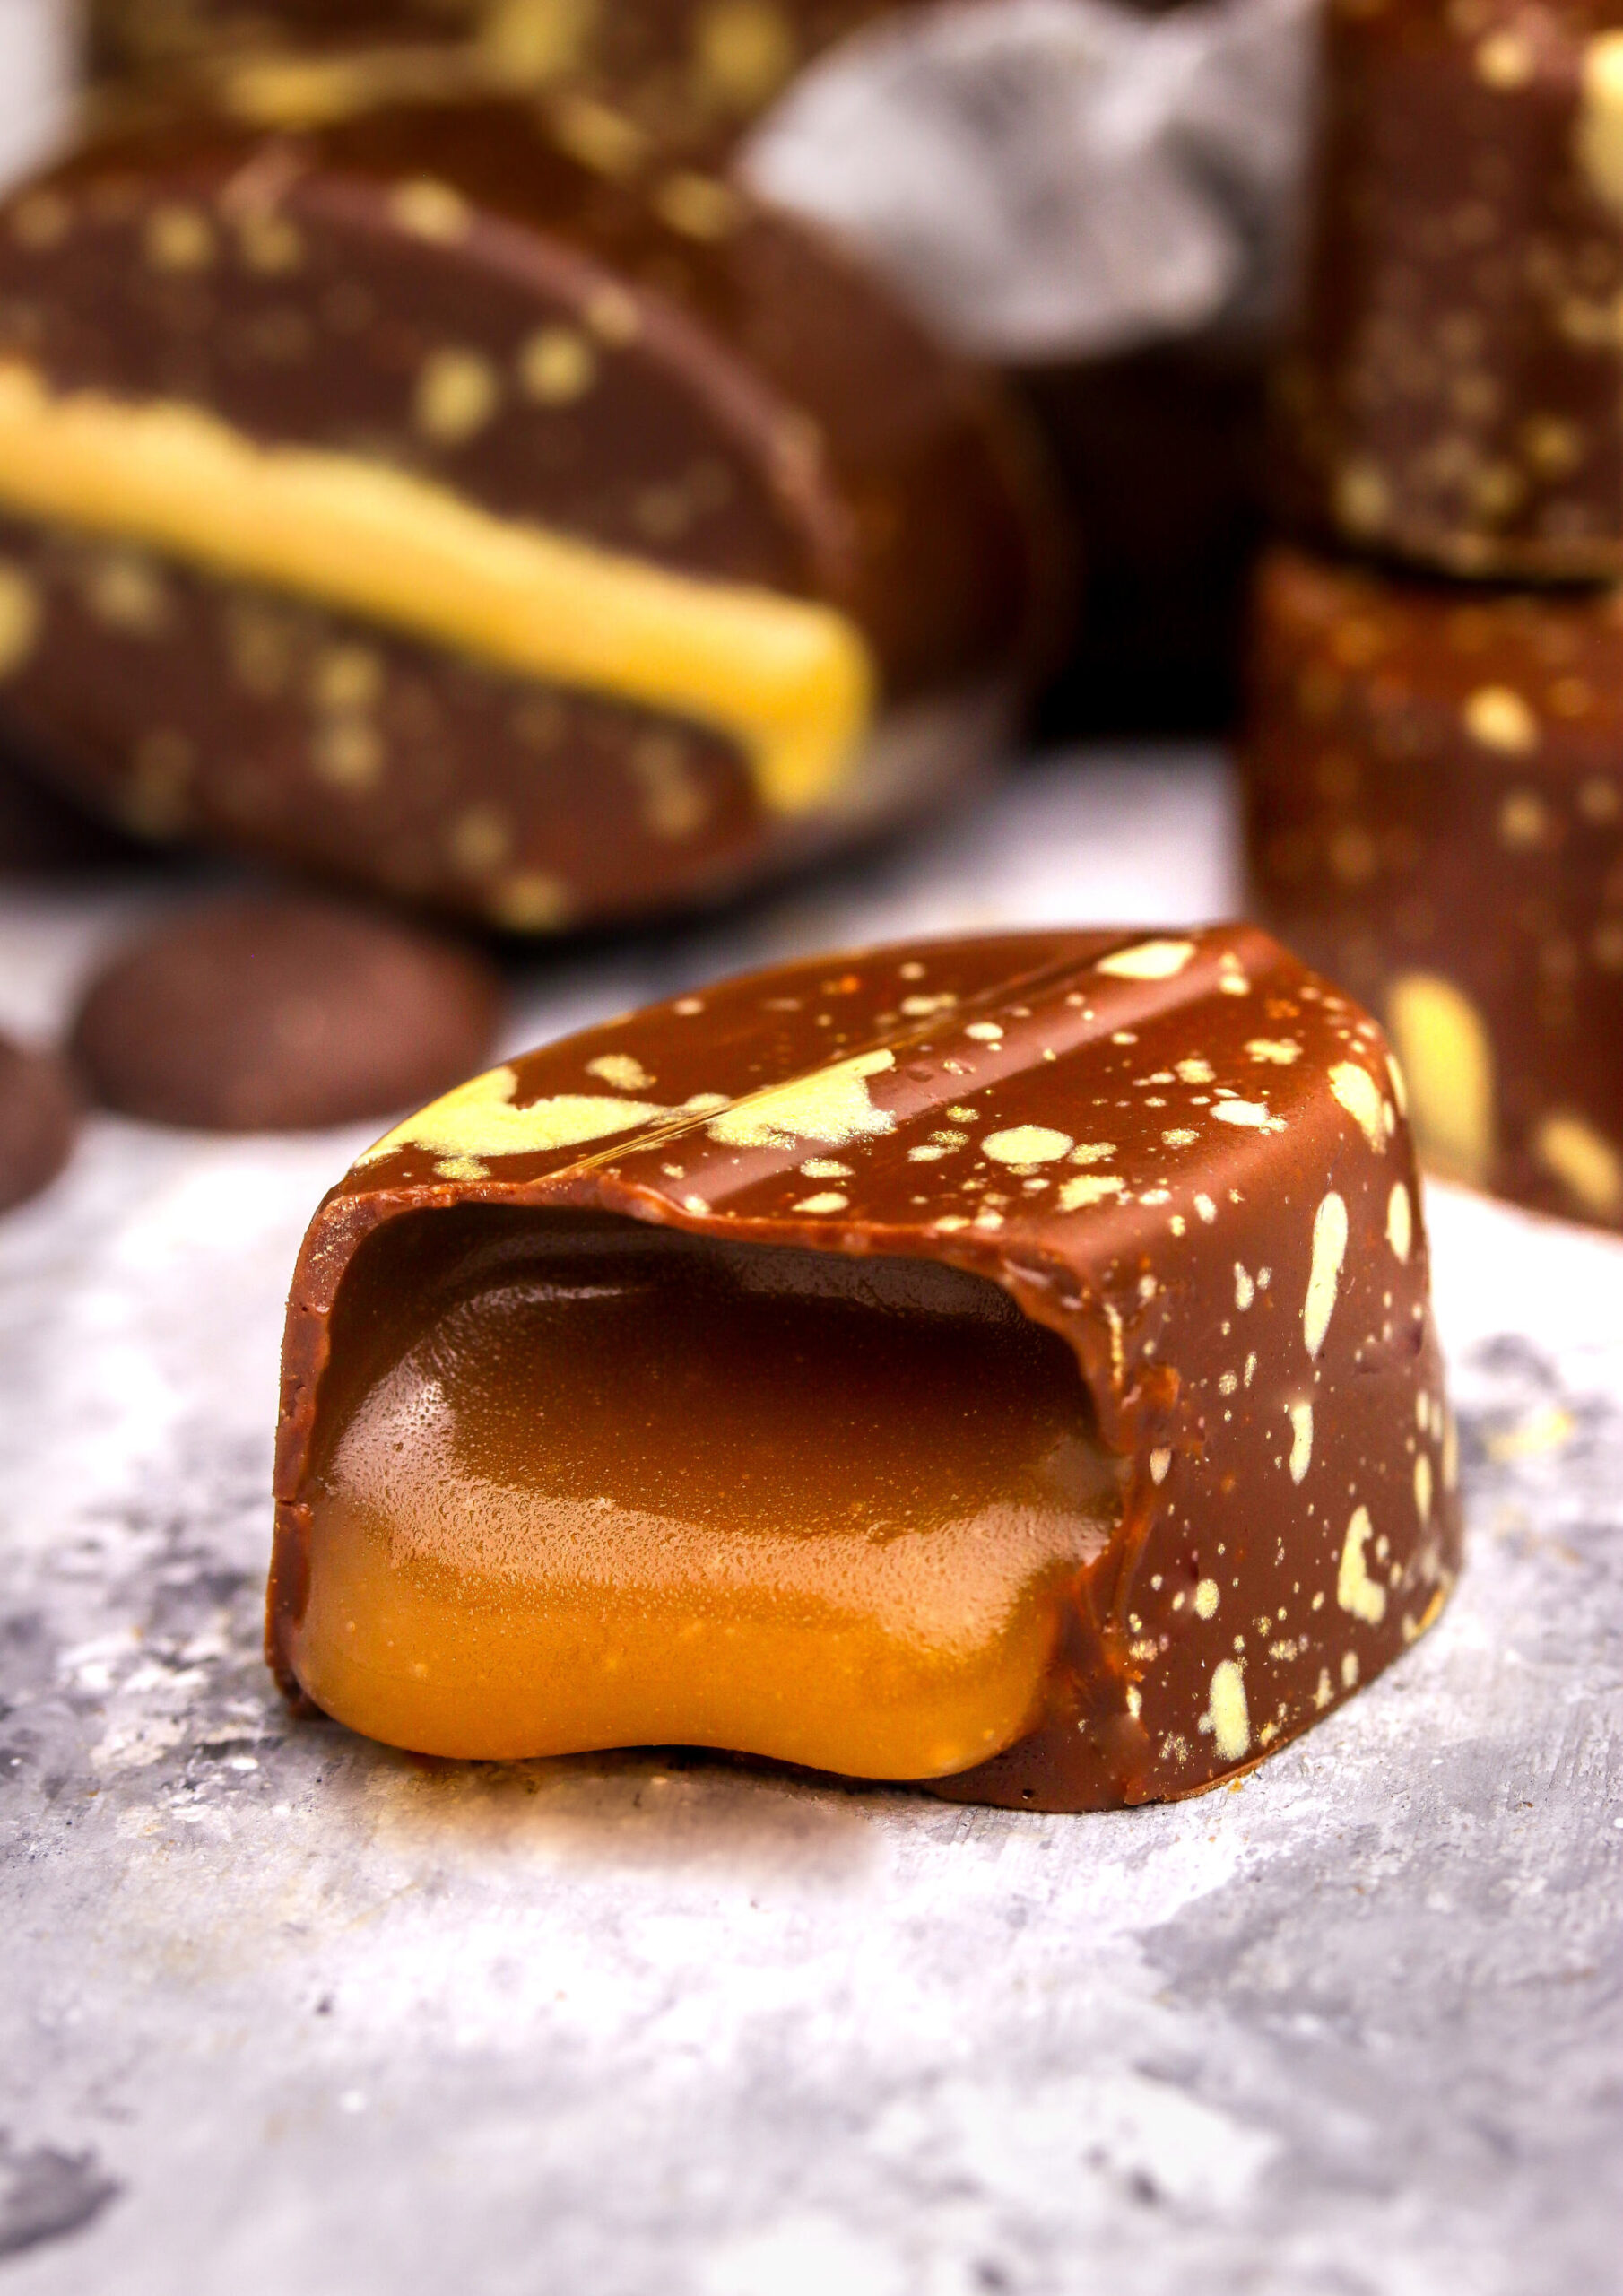
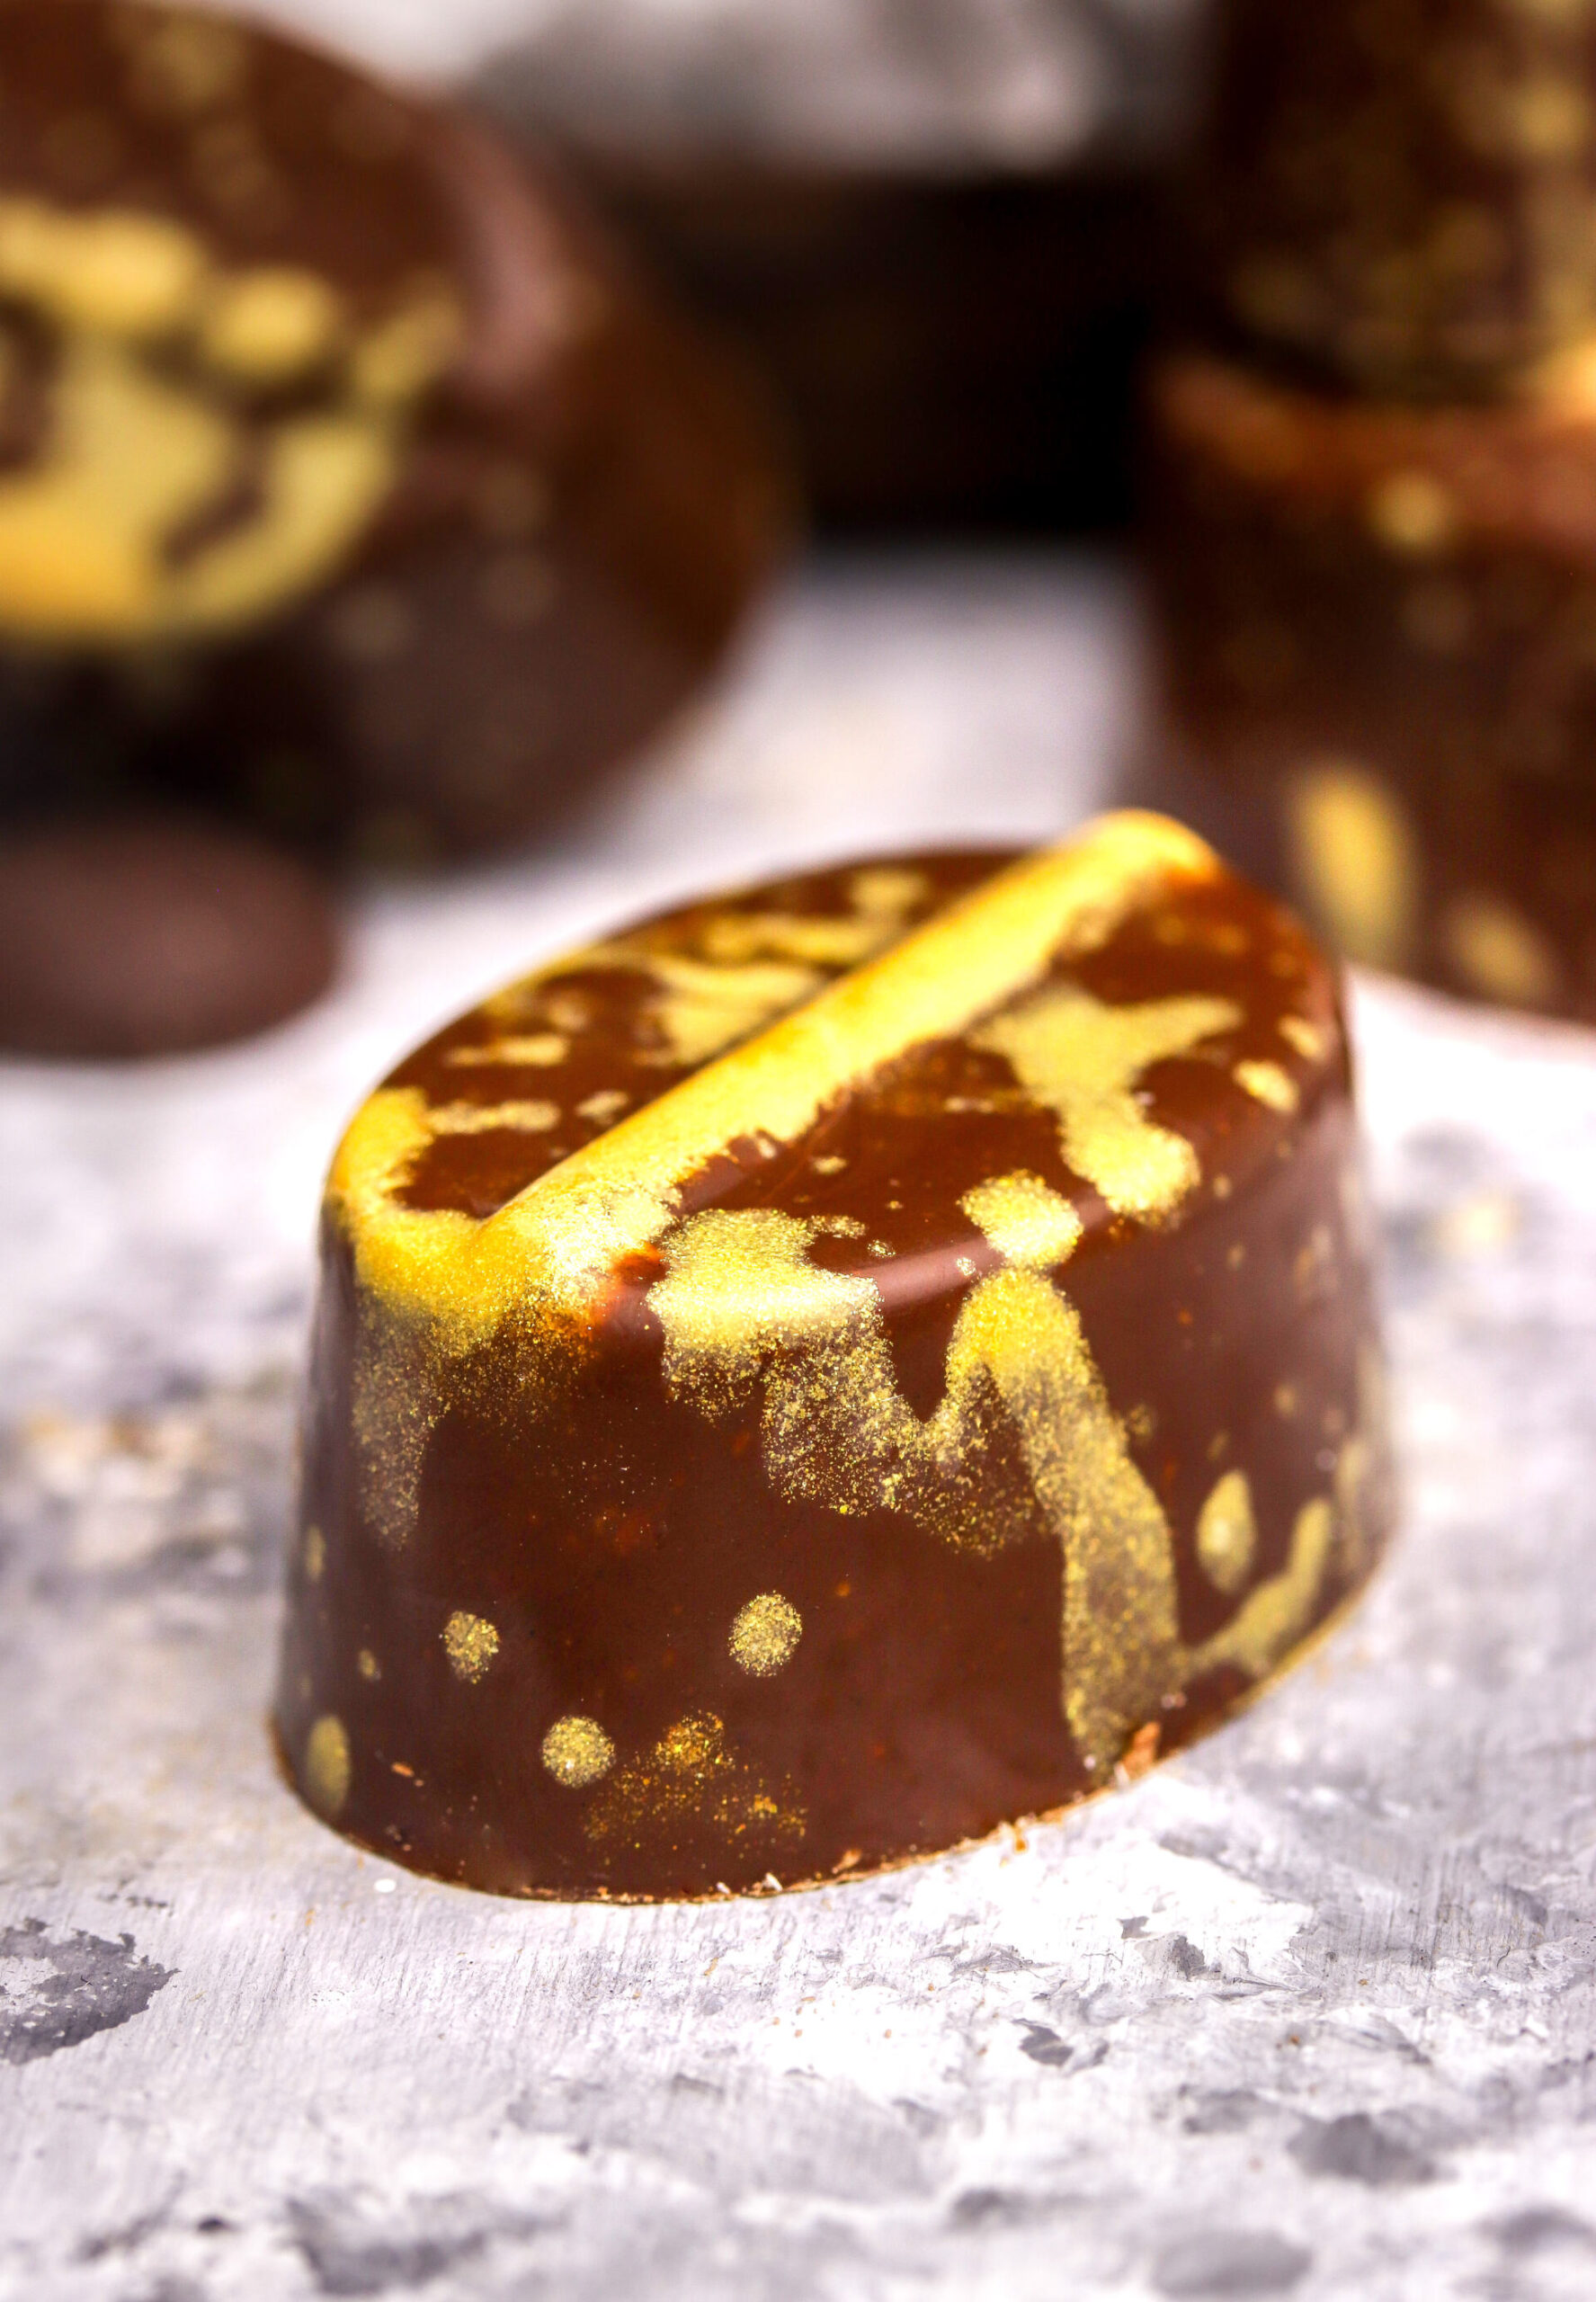
Brown Butter Pralines 2.0 – Bryntsmör Praliner 2.0
This. This is IT! This is THE praline. Not only is the flavour rich, buttery with heavenly notes of caramel and lots of brown butter, but the texture is simply silky smooth heaven of goodness. It is just gooey and runny enough to melt in your mouth like a dream, yet it doesn’t make a mess.
- Yield: about 48 pralines (2 molds) 1x
Ingredients
- Optional edible decorative gold or silver powder or cocoa butter colour
- 500g / 17,6oz milk or dark chocolate
- 5g / 0,17 oz of mycryo
Filling
- 100g / 3,5 oz butter
- 50g / 1,75 oz whipping cream, 40% fat
- 50g / 1,75 oz water
- 150g / 5,3 oz caster sugar
- 25g / 0,9 oz glucose syrup
- 100g / 3,5 oz water
- A hearty pinch of salt, preferably flaky
- Optional, toasted hazelnuts, one for each praline
Instructions
- Starts by making the chocolate shells. I use mycryo to temper the chocolate. I’ve found it to be successful every time, which I’ve not found when attempting the classic methods.
- Clean you praline molds using water and washing-up liquid. I usually clean them with a cotton pad and vodka as well. Let the mold dry, and using a food safe brush brush with edible gold powder if you want.
- Melt the dark chocolate over a water bath to 42-45C. Take off, and let cool to 35C in room temperature.
- Mix in the mycryo, and let cool to 32C. Great tip to make sure the chocolate really is tempered is to spread a thin layer on a piece of parchment paper. If it sets within 5 minutes to a glossy, hard sheet, then the chocolate is well tempered. If it’s not tempered, you’ll not get the pralines out of the molds.
- Then fill the cavities of the praline molds up to the top, even overflowing a little. Using the handle of a spatula or dough scraper, tap on the sides of the mold to remove air bubbles. Also, tap the mold on the counter top. This will prevent the formation of air bubbles on the surface of the chocolates.
- Then, flip the mold over the chocolate bowl to empty the cavities. Let the chocolate to drip off. Tap the side of the mold to get rid of excess chocolate. Using the spatula or dough scraper, scrape of the excess chocolate from the molds’ surface. Repeat for the second mold, and let set. You’ll get a sense of how long you should let the chocolate set in the molds and how thick of a shell you’ll get after some time making pralines.
- For the filling, start browning the butter in a medium sauce pan.
- Once browned, add the cream and 50g water.
- In another pan, stir together the sugar, glucose, and additional water. Bring to a boil over medium heat until it starts to become amber-coloured. The cream mixture should be kept warm on low heat. Keep attention and be careful with the sugar mixture since sugar can get very hot.
- Once amber, add the cream mixture to the sugar while whisking in one directions. Cook for an additional 1-2 minutes. Then cool in a water bath until room temperature.
- Transfer to a piping bag. Then, fill the cavities to about 1/3, press a hazelnut into the filling and fill until there’s about 2-3mm left to the top. Let sit in room temperature for a few hours or over night till a not sticky or wet “skin” has formed on the filling.
- Now for the lids, temper about 150g of chocolate with 1-2g of mycryo. Pour over the cavities until overflowing, and using the scraper scrape of excess chocolate chocolate. Repeat for both molds. Let set.
- Once set, try to tap out the pralines. If the chocolate was tempered correctly, it should go pretty easily. Otherwise, if you know you’ve tempered the chocolate properly, you can put the mold in the freezer or fridge for a short amount of time, and then the chocolate should shrink even more and pop out more easily. Enjoy!
Keywords: brynt smör, bästa, better, best, delicious, 2.0, new, brynt smör praliner, praliner, recept, recipe, pralines, browned butter, kola, smörkola, knäck, hemmagjord, julgodis, godis, candy, Christmas, easter, påsk, brynt smörkola, caramel, filling, delicious, best, salted caramel, hazelnuts, how to,
